


 English
 中文简体

If you have ever opened a filter housing and found the first cartridge coated in rust, silt, or a slick brown film, you have seen a sediment filter doing its job. It is the first line of defense in a reverse osmosis system, a whole-house setup, or a compact inline drinking water line. It catches the particles that would otherwise clog carbon blocks and shorten the life of an RO membrane. The practical question is not whether it needs changing, but when. How often to change a sediment filter depends on the water passing through it, the size of the cartridge, and the micron rating you choose. There is no universal date, but there is a reliable way to decide.
What a Sediment Filter Really Does
Sediment cartridges are usually made from melt-blown polypropylene. The fibers form a depth filter with tiny passages that trap particles throughout the cartridge, not just on the surface. A 5-micron filter catches finer material than a 20-micron filter, but it also loads up faster when the water carries a lot of debris. That trade-off is why two homes on the same street can need different replacement intervals. One may have older galvanized pipes that shed rust after every pressure change; another may have clean municipal water and a light household draw.
Micron Rating and Filter Life
A finer rating gives better protection for the stages behind it, especially the RO membrane. The cost is a shorter service life and a higher pressure drop as the cartridge fills. A coarser rating lasts longer but lets more fine particles through. In many residential systems, a 5-micron sediment filter is a sensible balance. In well water or areas with frequent main breaks, a 10- or 20-micron prefilter may be more practical, followed by a finer cartridge if the system needs it.
Signs You Are Due for a Change
Calendar reminders are useful, but the filter itself gives clear signals. Check these before you assume the cartridge still has life left:
- Visible color change. A white PP cartridge that has turned brown, orange, or gray is holding sediment. Deep color across the pleats or fibers usually means the useful surface area is filling.
- Lower water flow. When the cartridge clogs, pressure downstream drops. Drinking water may come out more slowly, and an RO system may take longer to fill its tank.
- Higher pressure drop. A pressure gauge before and after the filter tells the story. A growing difference means the cartridge is restricting flow.
- Sediment in the next stage. If the carbon filter or membrane housing shows grit, the sediment filter is bypassing or was left in service too long.
- Time and water quality changes. A filter that was fine last season can load quickly after a main break, a heavy rain event, or work on the plumbing.
How Often to Change a Sediment Filter: A Practical Schedule
The intervals below are starting points, not rigid rules. Use them to set an inspection rhythm, then adjust based on what you see and how the system performs. A small inline filter on a refrigerator line has very different duty from a whole-house cartridge on a well system.
| Filter type or situation | Typical replacement interval | Sensible check rhythm |
|---|---|---|
| 1–5 micron PP sediment cartridge, municipal water | 3–6 months | Every 1–2 months |
| 10–20 micron PP sediment cartridge, moderate sediment | 6–12 months | Every 3 months |
| Whole-house prefilter, well water or visible grit | 1–3 months | Monthly |
| Inline quick-connect sediment filter, under-sink or fridge line | 6–12 months | Follow the housing maker and check flow |
| Prefilter ahead of an RO membrane | 3–6 months | Check pressure drop monthly |
For a standard 10-inch housing, a 10-inch PP cotton filter is a familiar starting point for homes on treated municipal water. It gives dependable sediment capture without over-restricting flow.
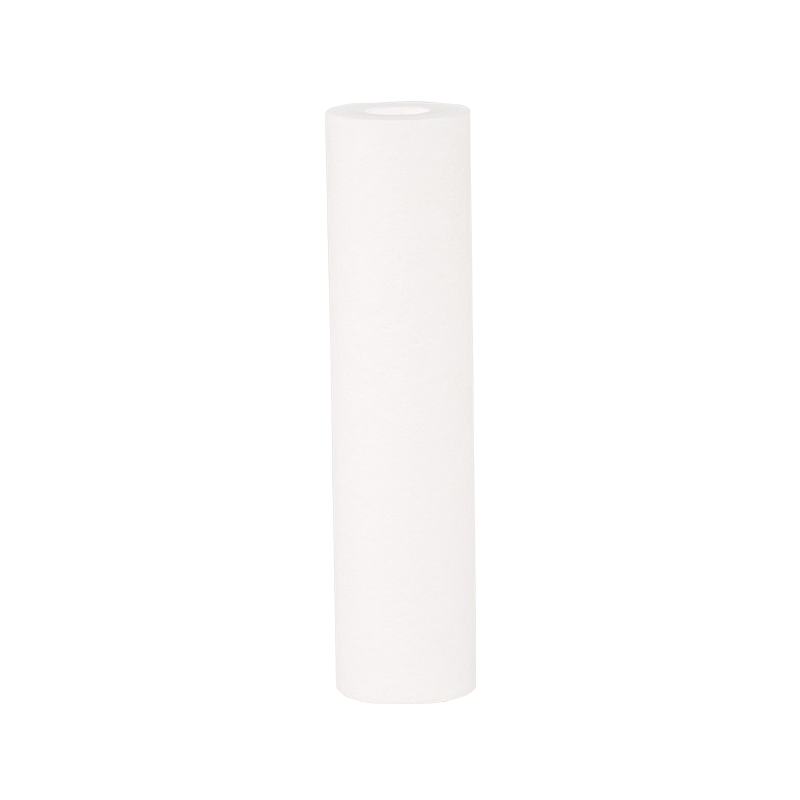 10 Inch PP Cotton Sediment Filter CartridgeA standard 10-inch sediment cartridge for treated municipal water, offering dependable large-particle capture without over-restricting flow in conventional housings.View Product →
If your system uses a quick-connect inline cartridge, the quick-insert inline PP water filter cartridge is a good match for compact under-sink and drinking water lines where space is tight.
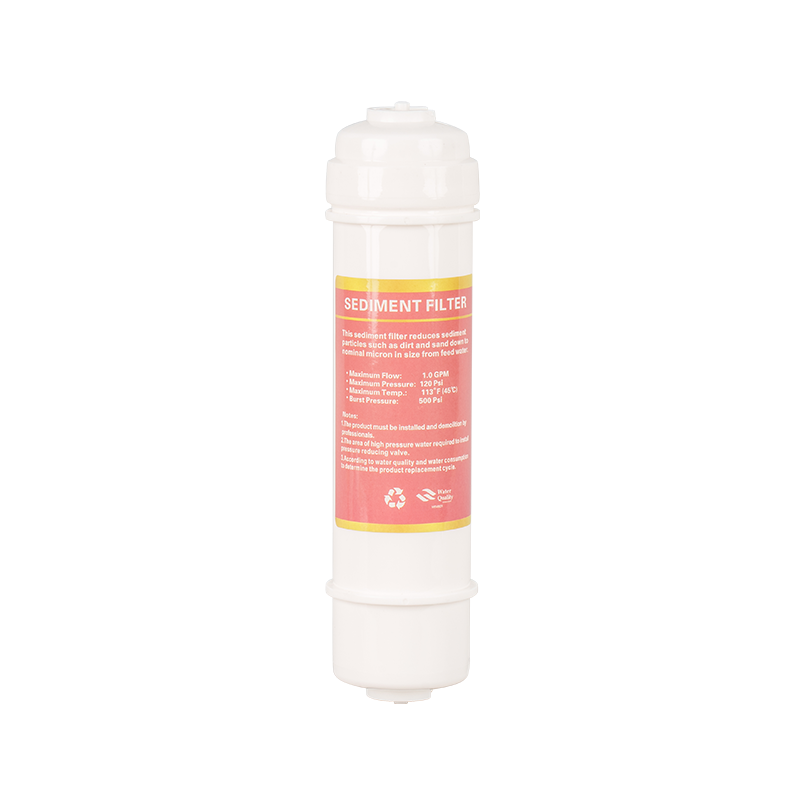 Quick-Insert Inline PP Water Filter CartridgeA compact inline polypropylene cartridge for tight under-sink and drinking water lines, with quick-insert installation for fast replacement and reduced downtime.View Product →
How to Inspect a Filter Without Guessing
Set a reminder, but let the cartridge and the system have the final say. Shut off the feed water, release pressure, and open the housing carefully. Hold the cartridge up to a light. If sediment covers most of the surface, or if the cartridge feels heavy and packed, replace it. If only the outer edge is lightly discolored and flow is still strong, note the date and check again in a few weeks.
Pressure is the other reliable indicator. On an RO system, a pressure gauge before and after the prefilter can show a restriction long before the cartridge looks bad. Rising differential pressure means the filter is doing its job but approaching the end of its useful life. For a deeper look at how micron ratings and cartridge construction affect performance, our guide to the working principle and usage tips for sediment water filter cartridges is a useful next read.
Step-by-Step Cartridge Replacement
Changing a sediment filter is straightforward if you work in the right order. The goal is to avoid trapped air, crossed threads, and a housing that leaks after you finish.
- Shut off the water supply and open a downstream faucet to release pressure.
- Place a towel under the housing, then unscrew the sump slowly. If the housing is tight, use the wrench made for it rather than forcing it by hand.
- Remove the old cartridge and pour out the water. Wipe the sump clean, and check the O-ring for cracks, grit, or flattening.
- Lubricate the O-ring with a small amount of silicone grease approved for drinking water use. Do not stretch it or use petroleum jelly.
- Seat the new cartridge in the sump or cap as the housing requires. Make sure it is centered and fully engaged.
- Hand-tighten the sump, then turn the water on slowly. Open the downstream faucet and let the first flush run for a few minutes to clear air and loose fibers.
- Check for leaks at the housing and connections. Note the install date on the cartridge or housing so the next check is easy.
Mistakes That Shorten Filter Life
The most common mistake is waiting for a complete loss of flow. By that point, the cartridge has been bypassing fine sediment or putting extra load on the carbon stages for weeks. Another is choosing a micron rating that is too fine for the water. A 1-micron cartridge on gritty well water can clog in days, while a 20-micron prefilter may be the better first step. Over-tightening the housing can damage the O-ring, and skipping the O-ring check can create a slow leak that looks like a filter failure. Finally, do not assume every clear cartridge is clean. Fine silt can load the inner layers without much surface color.
Keep the Schedule Simple and the Water Clean
The best replacement schedule is the one you will actually follow. Start with the intervals in the table, check the cartridge visually, watch the flow, and pay attention to pressure drop. Replace the sediment filter when it is loaded, not when the calendar says so and not after the RO membrane starts to suffer. Most homes settle into a rhythm after two or three changes, and that rhythm is far more reliable than a generic rule.
If you are unsure which cartridge fits your housing, or you want a sediment filter that matches your water conditions, contact our team. We have been making filtration components since 2011, and we are happy to help you choose a practical replacement plan.

