


 English
 中文简体

Ask anyone who has put together a drinking water system and they will say the same thing: the intimidating part of a reverse osmosis water filter is the name, not the plumbing. Strip away the terminology and what is left is a sequence of cartridges, one membrane, a few feet of tubing, and a small pump or valve doing its job. We have been manufacturing filter cartridges, solenoid valves and micro pumps in Yuyao since 2011, and most of the problems we see in home-built RO systems come down to small details — a membrane that was allowed to run dry, a missing flush valve, or a cartridge seated in the wrong position.
This guide walks through a realistic household build: what each stage does, which parts you actually need, how to put them together in the right order, and how to test the result before you trust the water.
What a reverse osmosis water filter is really doing
Reverse osmosis is not filtration in the usual sense. A pump, or the pressure already in the line, pushes water across a semi-permeable membrane. Water molecules pass through; dissolved salts, heavy metals and most organics are left behind and carried away as concentrate. Because the membrane is easily damaged by chlorine and easily clogged by sediment, it is always wrapped in pretreatment. That is the entire architecture of a household system: protect the membrane, pressurize the feed, then polish the permeate before it reaches the glass.
The water path looks like this: feed, sediment, carbon, membrane, post-carbon, storage tank, faucet. The rejected water runs to drain, and on many builds it passes through an auto-flush valve first.
The stages in a typical household build
- Sediment cartridge, usually 5 micron PP: traps sand, rust and silt before anything expensive.
- Pre-carbon block (CTO): removes chlorine and organics so the membrane can survive.
- Optional granular carbon (UDF): useful when chlorine loads are high or the system is large.
- RO membrane: the separation step; household sizes such as 1812 and 2012 typically cover 50 to 100 GPD.
- Post-carbon (T33): restores taste and catches anything the tank picked up.
- Mineral cartridge, optional: adds a little calcium and magnesium back for taste.
- Tank, faucet and fittings: storage and delivery.
More stages do not automatically mean better water. A clean three-stage train with a good membrane usually beats a six-stage stack of mediocre cartridges.
Build your parts list before you touch a wrench
Lay everything out and confirm the small things first: housing diameter, cartridge length (10 inch or 11 inch inline), tubing size, and whether the membrane housing takes a 1812 or a 2012 element. Buying one spare O-ring per housing saves a return trip later.
| Stage | Part | What to check |
|---|---|---|
| 1 | 10-inch PP sediment cartridge | 5 micron rating, snug fit, clean O-ring |
| 2 | 10-inch CTO carbon block | Chlorine capacity, no bypass around the block |
| 3 | RO membrane | Rated GPD, correct element size, stored wet |
| 4 | T33 post-carbon | Inline or threaded version that matches your tubing |
| 5 | Booster pump, if needed | Voltage, pressure rating, noise, self-priming ability |
| 6 | Inlet and flush valves | Voltage, connection type, flow direction |
| 7 | Pressure switch and gauge | Cut-in and cut-out values that suit the pump |
| 8 | Tank, faucet and fittings | Tank precharge, faucet clearance, tubing length |
Sizing matters more than most guides admit. A 50 GPD membrane on a 40 psi feed may produce far less than its label, which is why a booster pump is often the difference between a working build and a disappointing one. Aim for roughly 60 psi at the membrane inlet, and check that the tank precharge matches the switch settings.
Assembly, in the order that avoids rework
- Mount the bracket and housings on a wall or board that can carry the weight of a full tank line, and leave room to reach every housing cap.
- Install the cartridges in sequence, sediment first. Write the install date on each housing with a marker; you will not remember it in six months.
- Unpack the membrane only when you are ready. Keep it wet, note the flow arrow, and push it into the housing without touching the permeate end with bare hands.
- Fit the booster pump after pretreatment and before the membrane. Water should never reach the pump loaded with grit.
- Place the inlet solenoid valve on the feed line ahead of the pump, and the flush valve on the concentrate line to drain.
- Run the tubing route: feed to sediment to carbon to pump to inlet valve to membrane. Permeate leaves through a check valve, then the T33, then the tank and faucet. Concentrate runs to the flush valve and drain.
- Wire the pressure switch so the pump stops when the tank is full, and the inlet valve closes at the same moment.
- Pressurize slowly and watch every joint with a dry paper towel. Hand-tighten plastic fittings; overtightening cracks them long before it seals them.
The membrane is the part you cannot rush
A new membrane needs a flush. Discard the first five to ten minutes of permeate, or the first full tank, because the preservative used in shipping has to wash out before the water tastes right. After that, keep three habits: never let the element run dry, never feed it chlorinated water without carbon ahead of it, and never judge performance on the first day, since output rises as the membrane hydrates.
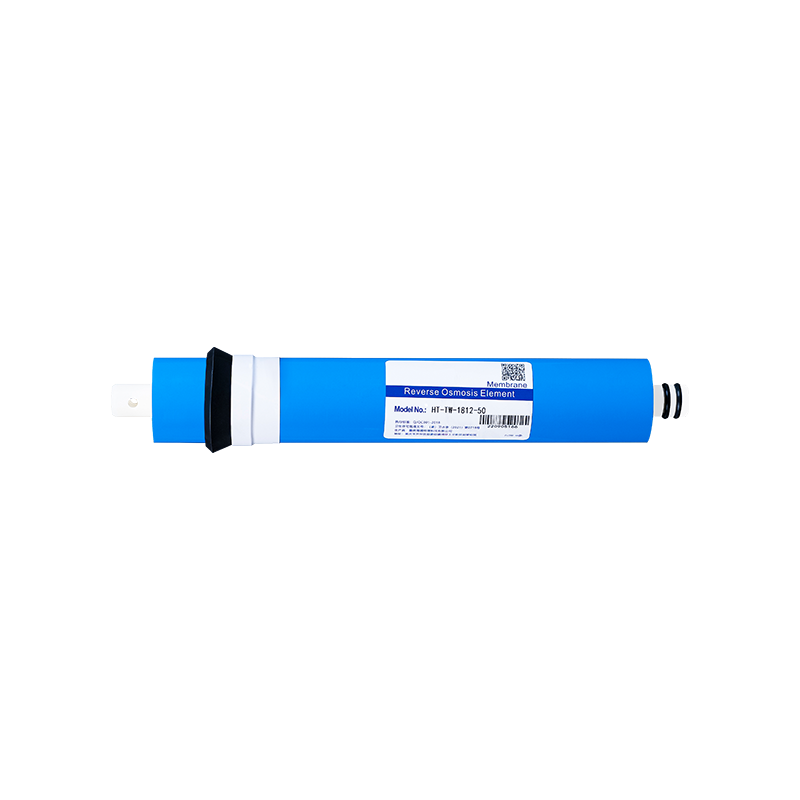 Household Reverse Osmosis Membrane ElementsRO membrane elements from 50 to 600 GPD with 96–98% salt rejection; match size and output to existing housing and flush before use.View Product →
Temperature matters too. Most membranes are rated at 25 °C, and cold winter feed water can cut production noticeably. That is normal behaviour rather than a fault. When you replace an element, match the size and rated output to the housing you already own instead of rebuilding the whole system around it.
Where the pump and valves actually earn their place
Three components separate a home-built RO system that works from one that merely runs.
The booster pump. It holds feed pressure steady at the membrane, which protects both output and recovery. A compact self-priming unit is usually enough for a household build and is easier to mount than a centrifugal pump that must never run dry. Keep it after the carbon stages, because carbon fines are unkind to pump heads.
 Compact Micro Self-Priming Water PumpA compact self-priming micro pump for steady feed pressure in household water systems; contact the supplier for model specifications and fit.View Product →
The inlet valve. When the tank is full, the pressure switch cuts the pump and the inlet solenoid closes the feed. Without it, line pressure keeps pushing water through the membrane and down the drain all day.
The auto-flush valve. For the first 18 seconds or so after each start, it opens the concentrate line wide and scours the membrane surface. That small routine is one of the cheapest ways to extend membrane life. If you are wiring one for the first time, our solenoid valve installation guide covers coil voltage, flow direction and sealing.
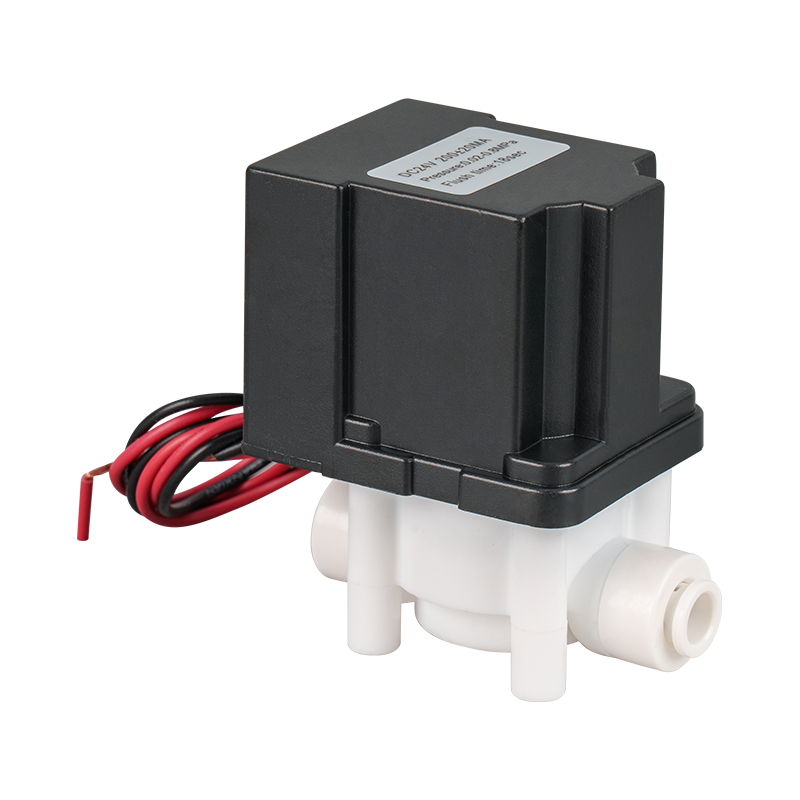 18-Second Auto Flush Solenoid ValvePilot solenoid valve with an 18-second flush cycle for water purification systems; helps scour membranes and extend filter life.View Product →
First run: test before you drink
- Leak check at full pressure for at least fifteen minutes, including the tank connection and every quick-connect collar.
- Flush the membrane and discard the first tank of permeate.
- Measure TDS on feed and permeate. A healthy household membrane removes 90 to 95 percent; a reading that drifts upward over a week usually points to a bypass or a failing element.
- Read the pressure gauge. Well below the expected 60 psi means an undersized pump, clogged pre-filters or a restricted feed line.
- Confirm concentrate flow. A recovery ratio around 1:2 to 1:3, permeate to concentrate, is reasonable for a household unit.
- Sanitize the tank and faucet before first use if the system sat unused or came out of storage.
Keeping it running without guesswork
A maintenance rhythm that works
- Sediment cartridge: every three to six months, or as soon as a pressure drop appears.
- Carbon block and granular carbon: every six months, sooner with heavy chlorine.
- Post-carbon T33: every six to twelve months, or when taste changes.
- Membrane: every two to three years, or when TDS rejection falls below about 85 percent.
Common problems and their usual cause
- Slow flow at the faucet: clogged pre-filters, low tank precharge, or a tired pump.
- Rising TDS: a dried-out or damaged membrane, or a failed check valve letting concentrate cross over.
- Pump running constantly: a stuck pressure switch, or an inlet valve that no longer closes.
- Flat or odd taste: a spent post-carbon cartridge, or a tank that needs sanitizing.
- Leaks at the housing cap: a pinched O-ring, usually from a cartridge that was slightly too tall.
Building a reverse osmosis water filter is a weekend project with a long tail: the assembly takes an afternoon, but the parts you choose decide how the next two or three years go. We supply cartridges, membranes, valves, pumps and fittings to builders and brands in dozens of countries, so if you are matching components for a single build or for a production run, our team is happy to help you get the combination right.

