


 English
 中文简体

Filters rarely fail loudly. They simply get tired — the tap slows to a trickle, the water tastes flat, or the cartridge comes out of the housing looking as though it has been steeping in tea. If you have been putting off the swap because the plumbing looks intimidating, take heart: changing a pre filter is one of the least dramatic jobs in water treatment, and after two or three rounds you will not need the instructions at all. What follows is the routine we walk customers through every week, from shutting off the supply to the final leak check.
What the Pre Filter Actually Does
On a typical under-sink reverse osmosis system, the pre filter is the first stage water meets before it reaches the pump and the membrane. In most residential units it is a spun or melt-blown polypropylene sediment cartridge, often followed by a carbon block stage that handles chlorine, taste and colour. On whole-house installations the principle is identical, just with larger housings and higher flow rates.
The value of this stage lies less in the water it treats than in what it stops. Sand, rust flakes and fine grit would otherwise settle onto the membrane surface and work their way into the pump chamber. A loaded pre filter announces itself through a pressure drop on the inlet side, a slow refill of the storage tank and a booster pump that sounds as if it is labouring. Replacing a cartridge on schedule is far cheaper than replacing a membrane.
When a Pre Filter Needs Changing
Housings and water sources differ, so treat the intervals below as a starting point rather than a rule. The heavier the sediment load — a well supply, an older municipal line, or roadworks nearby — the shorter the realistic service life of any cartridge.
| Pre filter stage | Typical interval in a home RO system | Warning signs |
|---|---|---|
| Polypropylene sediment, 10 inch | 3 to 6 months | Brown outer wrap, visible grit, falling inlet pressure |
| Carbon block (CTO) | 6 to 9 months | Chlorine smell, flat-tasting water |
| Granular or inline carbon | 6 to 12 months | Returning taste and odour, colour in the housing |
| Inline quick-connect PP | 6 to 12 months | Cloudy first draw, slower flow at the faucet |
How to Change a Pre Filter, Step by Step
The sequence below applies to standard housing-style cartridges. Inline quick-connect filters skip most of it — see the note further down.
- Shut off the feed water. Close the inlet valve or the supply stop under the sink, then open the faucet to release pressure. If the system has a storage tank, let it drain first.
- Switch off the booster pump or unplug the transformer. A pump that starts dry while the line is open will damage itself within minutes.
- Lay a towel and a shallow container under the housing. A cup or two of water always comes out, and it usually carries sediment with it.
- Use the right tool. Most housings accept a filter wrench or a strap wrench; hand-tight is rarely enough on housings that have been in service for a year or more.
- Unscrew the bowl slowly and keep it upright. Tip it away from drains if it is full of loose grit, so the sediment does not go down the sink.
- Remove the old cartridge and note its orientation. Many sediment cartridges have a gasket at one end only, so remember which end sat against the housing cap.
- Clean the bowl and cap. Wipe out grit, clear the threads, and inspect the O-ring for flattening, nicks or hardening. If there is any doubt, replace it — the O-ring is the cheapest part of the whole job.
- Lubricate the new O-ring with food-grade silicone, seat it in its groove, and check that it has not twisted.
- Insert the new cartridge with the central hole aligned to the standpipe, and press it down firmly until it seats.
- Hand-tighten the housing, then snug it with the wrench — usually a quarter turn past hand-tight. Overtightening distorts the O-ring and causes the leaks people blame on the cartridge.
- Restore the water slowly with the faucet open, and let it run for five to ten minutes to flush carbon fines and trapped air.
If You Have an Inline Quick-Connect Filter
Inline cartridges need no wrench. Push the collet ring in, pull the tube out, remove the locking clip, twist the cartridge free of its mounts, then fit the replacement and push the tube back until it stops with a firm tug. Refit the clip — it is there to stop the tube creeping out under pressure, and it is easy to forget.
Choosing the Right Replacement
Fit is decided by the housing, not by the label on the box. Measure the bowl or the old cartridge before ordering: a 10 inch housing will not take an 11 inch cartridge, and a 1812 inline filter will not take a 2012 body. Micron rating is the second decision — 5 micron is the sensible default for municipal water, while 1 micron is worth considering on well supplies or where fine silt keeps reaching the membrane.
For standard 10 inch housings, the melt-blown sediment cartridge is the workhorse choice for the first stage.
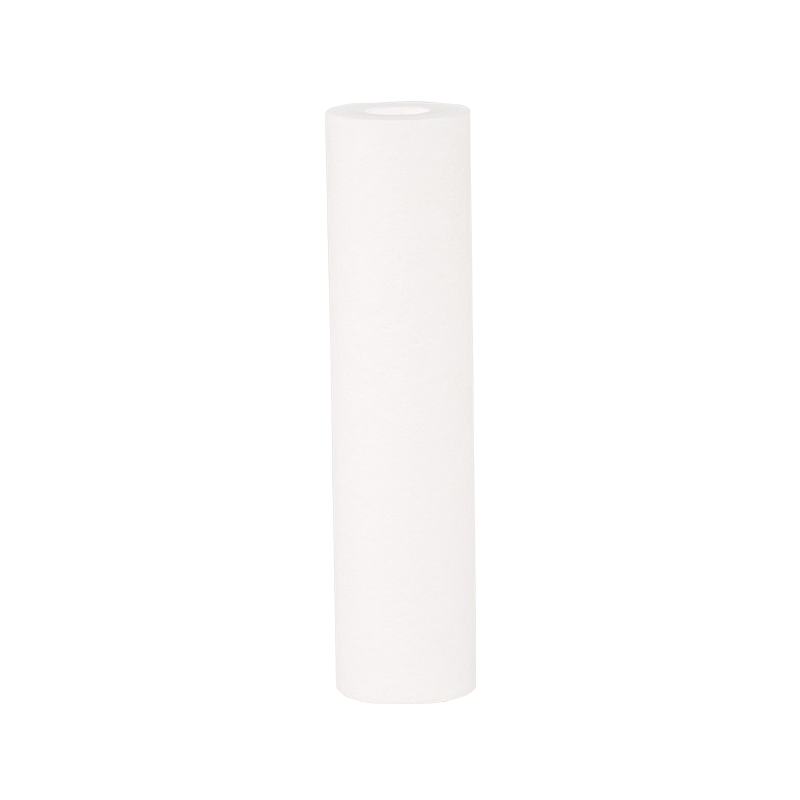 10 Inch PP Cotton Sediment Filter CartridgeFits standard 10-inch housings as a first-stage sediment filter for mud, rust and other large particles; four sizes are available.View Product →
Where space is tight or the system uses push-fit tubing, an inline body does the same job without a bowl to unscrew.
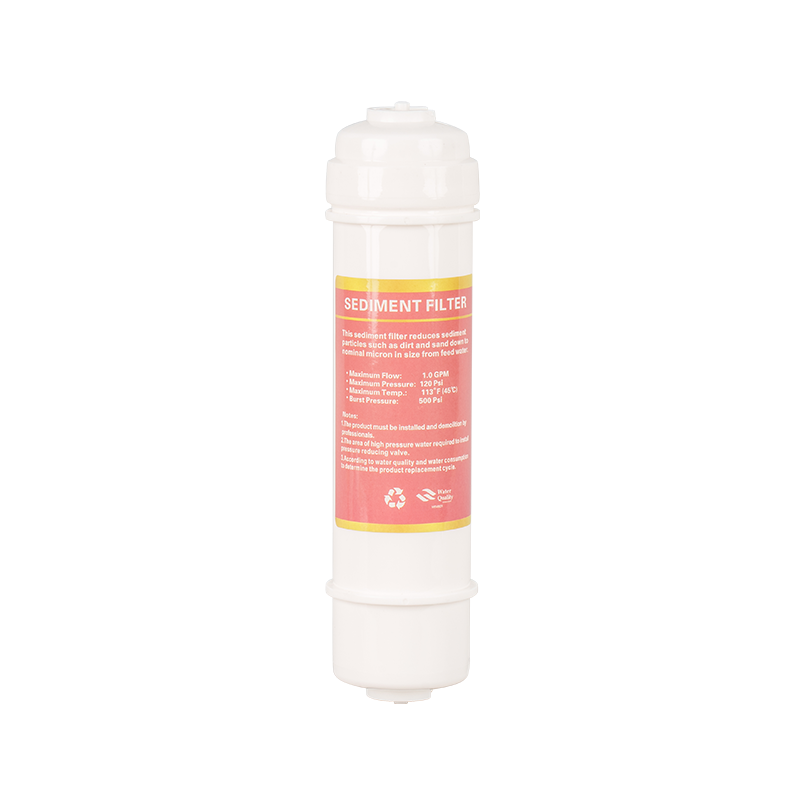 Quick Insert Inline PP Sediment Filter CartridgeCompact inline polypropylene cartridge for sediment, dirt and sand removal; quick-insert design simplifies installation where push-fit tubing is used.View Product →
If your second stage is a carbon block, the CTO cartridge removes chlorine and improves taste before the membrane sees the water.
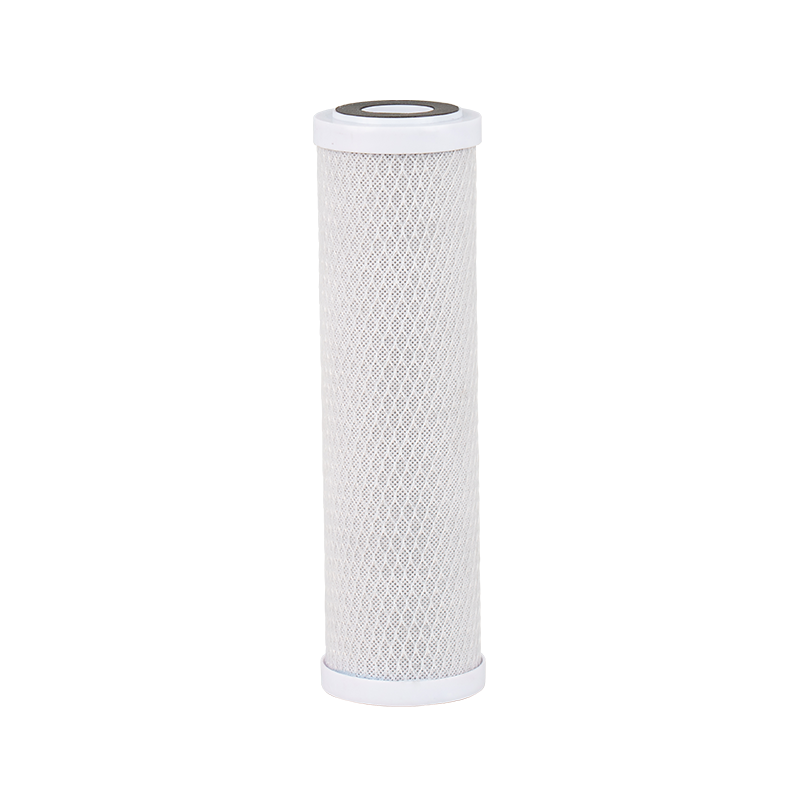 10 Inch CTO Pre-Block Carbon Filter CartridgeHigh-efficiency activated carbon pre-block that reduces residual chlorine, odors and organic compounds before finer stages; available in standard and BB sizes.View Product →
Sizing aside, the shape of the cartridge tells you a lot: a spun cartridge that has gone hard and crusty at the core was working in genuinely dirty water, and the stage before it may need attention too.
Flushing and Leak Checks After the Swap
New carbon cartridges release fine black dust for the first few minutes, which is normal and harmless — but it will clog a downstream membrane if you leave it there. Run the tap until the water clears, then discard that batch rather than drinking it. Once the line is clean, close the faucet and inspect every joint you touched: the housing thread, the O-ring seat, the tube fittings and the valve. Dry the surfaces first, then watch for a minute or two; a slow drip shows up quickly on a dry thread.
Check again after an hour and once more the next morning. Pressure should hold overnight with the system idle. If the tank takes noticeably less time to fill than before, the old cartridge was more blocked than you thought. Write the date on the new cartridge with a marker — future you will be grateful.
Mistakes Worth Avoiding
- Opening the housing with the supply still on, which turns a ten-minute job into a wet floor.
- Reusing a hardened O-ring to save a few cents, then chasing a leak for weeks.
- Forgetting to disable the pump before the line is opened.
- Mixing up sediment and carbon cartridges in the same housing run — they look similar but do different work.
- Skipping the flush after fitting a carbon block.
- Buying a bargain cartridge with no stated micron rating; the number is the specification.
There is more background on how sediment cartridges behave over their service life in this working principle and usage tips for sediment filter cartridges, which is useful if you are still deciding between 1 and 5 micron.
Keeping a Simple Maintenance Rhythm
Most households settle into a pattern: sediment cartridge every three to six months, carbon block roughly twice a year, and a membrane check once annually. Keep one spare of each stage on the shelf so a Saturday morning swap never waits on a delivery. It also helps to note your incoming water quality once a year — hardness, chlorine and sediment levels tell you more about filter life than any calendar does.
We have been making filtration components in Yuyao since 2011, starting with cartridges for Middle Eastern markets and later adding solenoid valves and micro pumps for water purification equipment. Cartridges, membrane elements, valves, pumps and the small accessories around them are what we build every day, and they ship to customers across Europe, the Americas, Africa and Southeast Asia. If you are unsure which cartridge suits an unusual housing, or you need a batch for a replacement programme, our team can help you match the part.
Changing a pre filter is not really about the filter at all. It is about protecting the parts behind it — the pump, the membrane, the tank — and about keeping the water at the tap tasting the way it did on the first day. Shut off, depressurise, swap, flush, check for drips, and write the date down. That is the whole method, and it will serve you for the life of the system.

